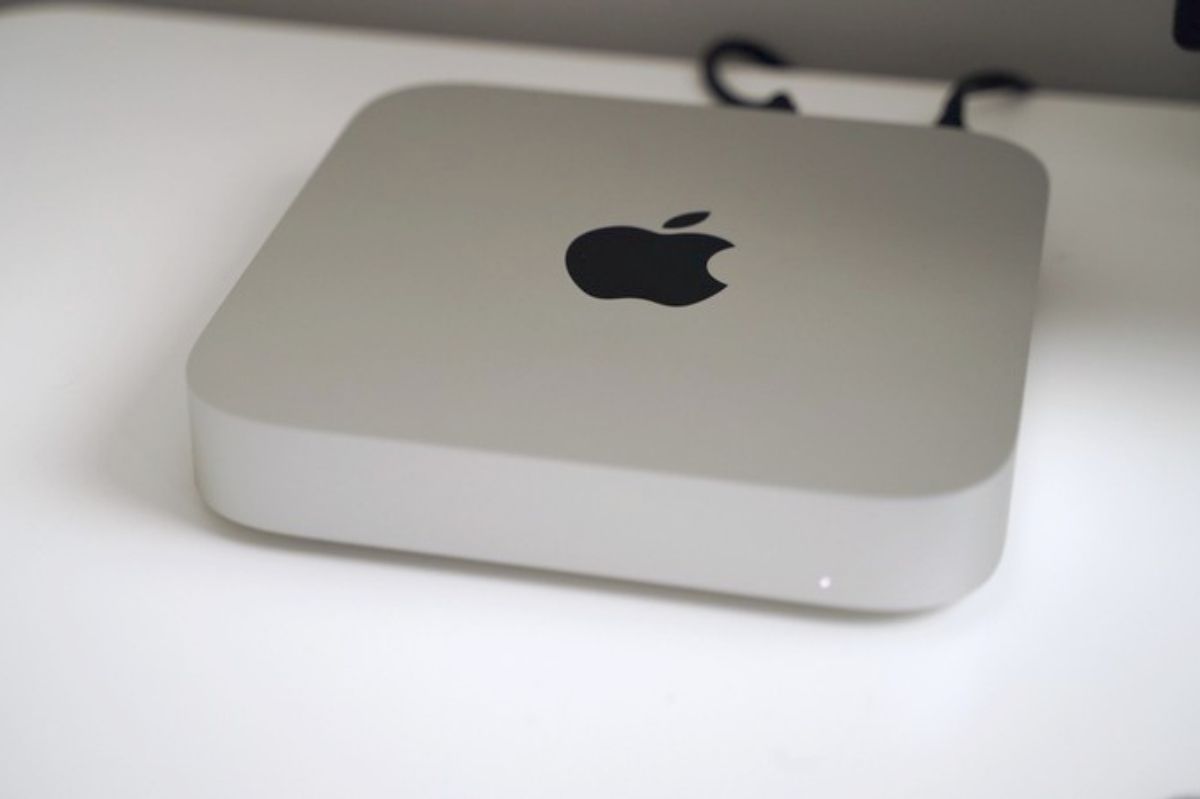
Cloning the disk that contains applications and operating systems is useful for various reasons and in various situations. A complete and perfect copy of the internal drive allows you to restore system, applications, photos, music, videos, and various preferences in case of problems; the procedure is also useful if we have a Mac with a replaceable internal disk and we want, for example, to replace the internal disk with a faster or larger disk.
On newer Macs (those with M1 chips) until recently it was not possible to clone the internal disk to an external disk but the problem was solved by dedicated utilities (CarbonCopyCloner and SuperDuper!) Thanks to the recent updates of macOS Big Sur.
Let’s see below how to make the copy. To do this you need an external disk to be initialized (formatted) where the whole system is to be dumped and a utility like Carbon Copy Cloner or SuperDuper.
These utilities are paid and offer a variety of useful backup features. For our examples we use CarbonCopyCloner because the developer allows you to download a demo version, fully functional for 30 days: we, therefore, have the possibility to clone the internal disk on the external one without necessarily paying.
Also Read : How To Activate The New PDF Reader Built Into Chrome
What Is Needed
Before proceeding you need: a hard disk or an SSD drive on which to clone the internal drive of the Mac. There are plenty of them and there are also internal drives to be used in combination with external USB cases.
If you are using a 2.5 ″ SATA HDD / SSD you need to install this on an external box: typically just open the cover of the external case, insert the disk in the right direction (paying attention to the data and power ports), close the cover of the housing and connect the external drive thus obtained to a USB port on your Mac. At this address the instructions on how to choose an SSD drive.
Prepared the external disk, you need to start the Disk Utility application and initialize the external disk using the format ” APFS ” for macOS 10.14 or later and ” HFS + ” for macOS 10.13 High Sierra and earlier, verifying that the partition is set in both cases on “GUID Partition Table”
Once the disk has been formatted, you need to exit Disk Utility and then:
1) Connect the external drive to the computer using the SATA / USB cable/case
2) The outdoor unit should be visible with the chosen name; if the system asks if you want to use it for Time Machine backup, ignore the message.
3) At this point we can clone all the data of the existing Mac drive to the external drive. Start
CarbonCopyCloner, select the source disk (the internal one) and the destination drive (the external one). Please wait patiently for the copy procedure to finish (it may take several hours if we have a lot of things on the internal disk).
At the end of the completion of the copy, just disconnect the external drive to have a perfect copy of the internal disk.
You can test the box with the external drive connected to the computer: restart it by holding down the “Option” key while it restarts until a menu of boot options is displayed: the internal and external disk should be visible and selectable, confirming that the cloning procedure was successful.
From this screen you can choose which operating system to boot (the internal one) or the one on the external disk. Alternatively, you can start the computer normally, select “Startup disk” from System Preferences, and from here set which disk to start the Mac from (internal or external).
Also Read : Extending The Life Of Your MacBook Power Adapter: A Guide


